I’ve recently received several email messages asking how to enable and correctly use the neutral density filter built into the Canon PowerShot G9, G10 and G11 cameras recently.
Here are a few tips & tricks to get you started. Enabling the built in 3-stop ND filter is very simple:
- Press the Function/Set button to get to the Function menu.
- Use the Up arrow or Down arrow to highlight the ND icon.
- Use the Right or Left arrow to select ND (ND Filter On).
- Press the Function/Set button again to exit the menu.
If you plan to use the ND filter often you can assign it to the little “S” (shortcut) button using the Set Shortcut Button menu.
Other Tips & Tricks
- Use a tripod to eliminate camera shake when using the built in ND filter. Read my previous post for more details.
- You can use a Canon RS60-E3 remote cable release with the PowerShot G10 / G11 or use the Self-Timer to activate the shutter and eliminate even more camera shake.
- Use a circular polarizer to eliminate reflections and add color depth to you images. My previous post explains how to “trick out” your G9/G10/G11 for landscape shooting.

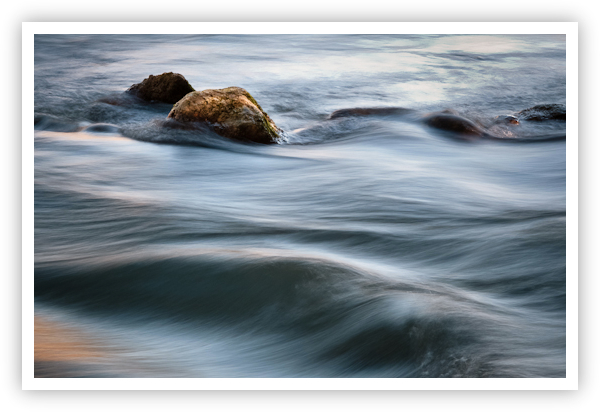
The River Flows – Spring Branch, Texas
Copyright 2009 Jeff Lynch Photography
Shot taken with a Canon Powershot G10 set on full manual mode and tripod-mounted. The exposure was taken at 30mm, f/8 for 0.6 seconds using the built-in neutral density filter at ISO 80. Post capture processing was done in Adobe’s Lightroom 3 Beta. Click on the image above for a larger version.
Posted in Photography Tagged: Canon, Canon Powershot G10, Canon Powershot G11, Canon Powershot G9, Landscape Photography, Photography, Texas Hill Country
![]()
No comments:
Post a Comment