Monday, October 29, 2012

LowePro S&F Camera Exchange AW Bag 100 [REVIEW]


I see a lot of bags and packs that look like gimmicks trying to be passed off as something the average consumer can’t live without. Often they are toured as such. Few of them live up to the concept of making photography easier.


And that is why I eyed the LowePro S&F Lens Exchange 100 AW with a skeptical eye. “Look!” I imagined the PR rep shouting from on high, “You can change lenses more easily!!” I’m not a fan of individual lens cases and I usually only carry one extra lens not on my camera when I travel. But with my recent need to test a Tamron 90mm Macro, I decided to see if the small bag could deliver when I used it in conjunction with a Canon EF 10-24mm.


Specifications

  • Internal Dimensions: 11 x 11 x 17 cm (4.33 x 4.33 x 6.69 in)
  • External Dimensions: 14 x 14 x 19.5 cm (5.51 x 5.51 x 7.68 in)
  • Weight: 0.4 kg (0.88 lbs)


In The Real World


The concept is simple: When opened, this bag has holders for two lenses. It can’t hold them both when closed, but the idea is you open the bag, expand it out, drop one lens into the empty holder, swap end caps and put the first lens on your camera. It’s meant to make things easier for one handed operation when you don’t have a place to set your second lens during a swap.


And it works! I’ve been using the under-the-arm technique for a while and it frankly frightens me. I’m not the steadiest of hands at times and dropping a $1500 lens is a bad idea. This bag actually cures that problem.


What’s more, this bag doesn’t try to be everything to everyone and I really like that. It holds a smaller lens (like a 16-35mm, 50mm or even 90mm) well and has space for another. I didn’t try it with a 16-35mm and the wide lens hood, but it should fit as well. It can’t handle a 70-200mm but for that it has a big brother, the 200 model.


There are a couple of elastic pouches on the sides to hold lens or end caps. Beyond that, the bag isn’t larger than it needs to be to accommodate extra stuff. No pockets for keys or extra cards or cell phone. Just a lens bag.


There is a nice belt loop velcro attachment on the back built in the normal, rugged LowePro fashion. The zipper pulls on the top are smooth, as I’ve also come to expect from LowePro and the use of a single handle is astonishingly easy. I’ve tried binding it up and it keeps on working properly. Very well designed for being so dang simple. There’s also a snap on the back (when both of your hands are free) to help secure the bag.


A shoulder strap is supplied and there is a rain cover. The rain cover seems a bit silly to me especially since it has holes form the shoulder strap. There is no way to get into the bag with the shoulder strap attached and the rain cover on. I have to remove the shoulder strap then take the cover off, which obviously requires more than two hands and a place to set the bag, most likely.


If the rain cover were not attached to the bag (a long time gripe of mine about LowePro rain covers in general) I could flip the rain cover the opposite way and still work the system with one hand.


Conclusion


The LowePro S&F Lens Exchange 100 AW works and despite me not wanting to like it (or lens pouches in general) I will be using it with my other bags when I want a slimmed down kit. I can attach it to the hip belt of a f-stop bag or the outer loops on a smaller camera/lens bag. I can also just loop my belt through it and forget about the bags altogether.


It also works better for me than the standard LowePro lens cases. With this bag, the case opens wise (I find those single lens bags have a lid that likes to flop closed when I don’t want it to) and the opening with a handle is just easier.


Get a price on the LowePro S&F Camera Exchange AW Bag 100 at Amazon.


Post originally from: Digital Photography Tips.

Check out our more Photography Tips at Photography Tips for Beginners, Portrait Photography Tips and Wedding Photography Tips.


LowePro S&F Camera Exchange AW Bag 100 [REVIEW]


Green Village in Bali


Designed and built by local Balinese studio Ibuku, the Green Village is a master planned community set along the rural landscape of Bali's sacred Ayung river.


Several eco-friendly houses co-exist with the natural landscape, entirely made of bamboo, from the roof, the walls, the floors, the staircase and the furniture.


More inspirations


Sunday, October 28, 2012

In The Mood for Fantasy


Fragrance editorial with dolls by Marina Bychkova for Vogue Japan Beauty December 2012 photographed by Lacey.


More photos here.


Saturday, October 27, 2012

Pencil Sketches by Krzysztof Lukasiewicz


Pencil Sketches by Polish artist Krzysztof Lukasiewicz, aka krzysztof20d. Krzysztof created a series of impressive portraits of celebrities.


More art


Friday, October 26, 2012

Modern Drag Downs by Tom Ziebinski


What emotions are hidden behind a gesture? Polish photographer Tom Ziebinski describes them to us by portraying movement and its dynamic fading in series “Modern Drag Downs”. His abstract plots are depicted by female nudes, whose dances diluted in time leave smoky trails that remain impressed in a single shot.


http://www.lanciatrendvisions.com/en/article/searching-for-the-soul-of-movement-modern-drag-downs-by-tom-ziebinski


www.facebook.com/LanciaTrendVisions


Geometric Food Art by Sakir Gökçebag


Geometric Food Art by Sakir G k ebag: Turkish photographer Sakir G k ebag slices fruits and veggies to create geometric arrangements. The photos you see here haven't been digitally manipulated.


More pics and info here.


Tuesday, October 23, 2012

Caring for the DSLR Body and Lenses


Your DSLR camera is a very fine tuned device. It includes a variety of high tech pieces and parts that will need to be properly cared for. In many ways, the camera is designed to help you care for it properly, but you will still need to learn how to maintain both the camera body and any lens that you are using. Without caring or it properly, you could end up damaging the camera or the lens or you could end up with pictures that are imperfect.


The Image Sensor and Dust


Perhaps the number one concern will be learning how to keep the image sensor from garnering dust. This is a problem that has existed for as long as there have been cameras. The only way that you can guarantee that you will not get any dust in the camera sensor would be to only use your camera within a bubble. Obviously, that is not going to happen, so you will need to learn how to manage and deal with the dust.


How does dust get there? Each time you change the lens on your camera, dust will have the potential of getting in the camera body or in the lens itself. When you expose these two mechanisms to air, there is dust or particles in the air.


What problems does dust cause? When dust settles on the camera sensors, it will cause problems with the image. Too much dust will lead to specks or bad pixels throughout the image. If too much dust gets in the camera, it could cause mechanical problems that could be serious enough to keep you from taking pictures.


When does dust cause a problem? If there is a great deal of dust on the sensors, then it could show up anytime you take a picture. However, even a small amount of dust could cause problems at a wide aperture.


Dust can certainly be a problem with a digital camera, and it can take its toll on your digital photography. However, it is inevitable that you will have to deal with dust. There are steps that you can take in order to keep your camera clean and dust free.


dirtyCCD


CleanCCD


Photos by Lauri Rantala


Keeping the Dust at Bay


In order to keep your camera in the best working order, then you will need to know how to keep it dust free. There are quite a few things you can do that range from prevention to dust management. Here are some steps that you will need to take in order to keep your camera dust free.


Avoid dusty areas. If you can, do not photograph in areas that are dusty. If you need to work in a dusty area, then do not change the lens while in that area.
Store your camera in a clean and dust free environment.


Keep your lenses clean. A dusty lens can transfer dust to the camera body. When you get ready to use a lens, you can use a blower brush to get rid of any dust that may be residing on the lens.


Watch out for gravity. Your first instinct when changing a lens will be to hold the camera body facing up. However, this will let gravity do the work of allowing any surface dust to fall into the mirrors and sensors within the camera body. Instead, hold the camera face down when changing lenses.


Watch the wind. If you need to change the lens outdoors, be sure to turn your back to the wind. Always use your body to block the wind if you can since wind can blow a great deal of dust and particles into the camera.


Clean the mirrors. You will need to take the lens off and clean the mirrors of the camera body from time to time. The best tool to use will be a blower bulb.


Do not use compressed air. You may be thinking that you could blow this air into the camera body to clear away dust, but this could actually force more dust into the camera body and damage small working parts of the camera.


Turn the sensor cleaning on. Your camera should have a built in camera sensor cleaning mechanism, but it may not be set to be turned on. Make sure you have it set to clean the sensors when the camera is turned on or turned off.


Clean your camera often. It is better to clean the camera often to avoid dust settling into the body, which could make cleaning harder.


Three Methods of Image Sensor Cleaning


When you get ready to clean the camera's image sensor, you will need to make sure you do so in the most proper way. That image sensor is absolutely vital to your digital photography and it is fragile. The last thing that you would want to do is damage the image sensor because this could cost you a great deal of money to get it repaired. Just how do you clean the image sensor? There are three different methods that you can use.


Air Cleaning. This is a good way to get rid of fine particles that have settled on the image sensor. You will need to use an air bulb to lightly blow away the dust. Do not use canned or compressed air. It will be too harsh and damaging.


Brushing. You can find a very light and fine brush that often comes with the air bulb. This is a good way to clean away particles that will not blow away with air. Only use a brush that is made to work with a camera.


Liquid. If the camera image sensor has particles that cannot be removed in the other methods, then you can dip a lint free swab in ethanol and lightly brush the image sensor.


If you take proper care of the camera, the image sensor and the lens, you can make sure you take better pictures that do not have bad spots or particle spots that can be distracting and frustrating. Taking proper care of your camera will ensure that your digital photography looks its best and that your camera can last a very long time.


Top image by Claudio Matsuoka


Incredible Hand Paintings by Guido Daniele


Inspirational "Handimals" Hand Paintings by Guido Daniele. Guido is a talented artist from Italy. In 1990 he started doing body paintings of animals. Using his son Michael James and daughter Ginevra as his primary canvases, Daniele created incredible animals paintings on their hands. On average the typical "Handimal" takes around three to four hours to paint in its entirety.


More art


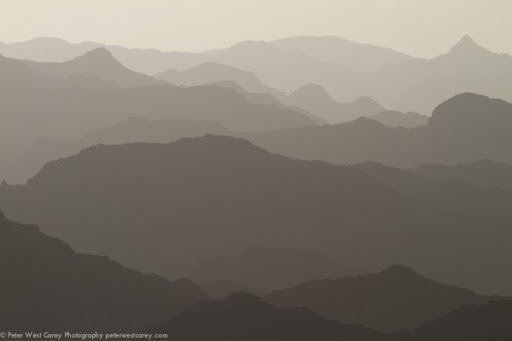
How I Shot And Edited It – Layers, Oman


The image above was shot in Oman near sunset and I have received a number of requests to explain how it was shot and processed. I hope this post helps you understand the process I used so it may be of service to you.


Starting at the start, I got lucky. This image is not too far off what I captured while standing on the side of the road, sweating in 100F+ heat. My girlfriend and I were driving the mountainous regions of Oman on holiday with very few particular objectives so it was hapenstance that we came upon this scene about an hour before the sun set. This shot is facing East to North with the sun coming in slightly off to the side.


The shot was taken with a Canon 7D and Canon 28-300mm L lens. The settings were: ISO 100, 235mm, f/9 and 1/800the of a second. No tripod was used.


I downloaded the image into Lightroom 4 and it was pretty decent from the start. (Click on any image for a larger version


I was happy with the range in the capture. Here is the histogram for it at the start.


After removing some spots that showed up with the f/9 setting, I adjusted the Tone Curve to bring in the white and black point.


This expanded the histogram a little.


So far, so good. A few more spots showed up and I removed them (I’m not showing that part so as to not completely bore you). I also adjusted the Luminance Smoothing by +12 because, even with ISO, I wanted things even smoother when it came to tone.


It was at this time I decided to use Seim Effects Silver Shadows 2 to change the image to black and white. Having played with this product for a while, I knew the Dynamic Silver effects would render a great result. There are over 100 presets and I’m not patient enough to go through them all, so I stick with a few tried and true favorites. In this case, it was specifically 3:01 Dynamic Silver I.


Then, I gave a slight curve to the Tone Curve to accentuate the contrast. I have had a problem as of late of going overboard with curves, so I kept this one subtle.


The curve looked like this and the result is after it.


It’s hard to tell the difference without flipping between the two images, I realize, but that is good in my book.


I found another spot (tip: clean your sensor before your next trip) and then decided on one last change. I brought the black and white points even more to stretch the tonal range as such:


Not every photo needs to have a ton of edits in post production. And thankfully this image was pretty nice to start with, fitting well within the sensors capabilities.


The problem with an edit like this is it’s impossible to please everyone. After I posted this image on my Facebook page, I received requests for the original color version with edits. To that end, I submit it here for your opinion.


Which do you like better, the B&W version or the color?


Post originally from: Digital Photography Tips.

Check out our more Photography Tips at Photography Tips for Beginners, Portrait Photography Tips and Wedding Photography Tips.


How I Shot And Edited It – Layers, Oman


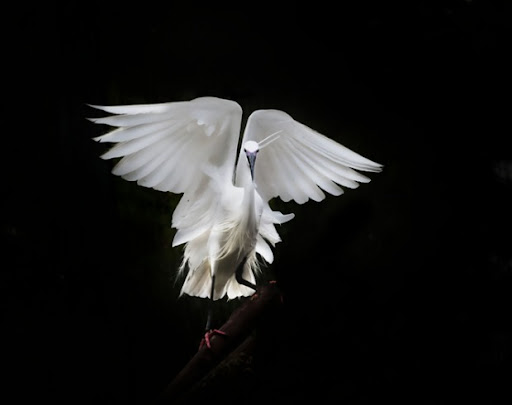
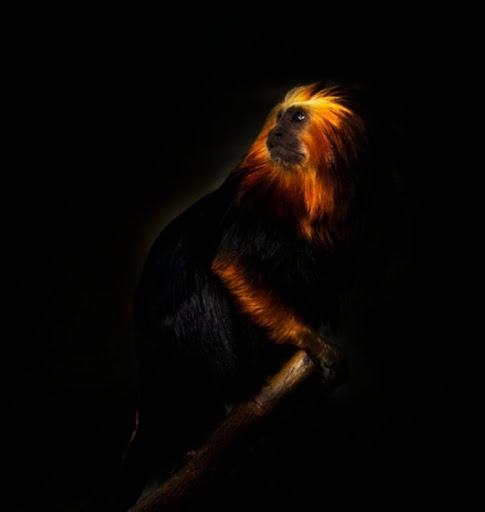
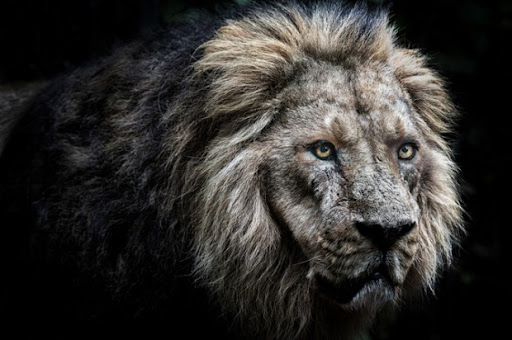
Animals by Sue Demetriou


Love photography to a point where it is now a way of life! Still pretty new to this, well nearly 18 months…. Was bought a camera in xmas 2010 and have not put it down since. I definitely prefer nature, wildlife, animals and flowers to human victims! I have found that there is an immense amount to be learnt from looking at others work and don’t ever see that changing one bit.


Author’s portfolio