
Take the treat of the day with these best Adobe Illustrator tutorials and take your knowledge on vector graphics to a newer height. Enjoy!


View Source
Take the treat of the day with these best Adobe Illustrator tutorials and take your knowledge on vector graphics to a newer height. Enjoy!
View Source
Boost Inspiration - Web Design - Graphic Design - Photography Inspiration
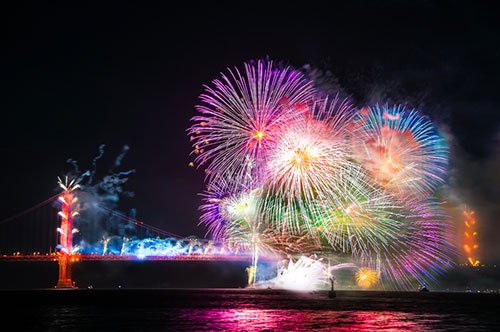
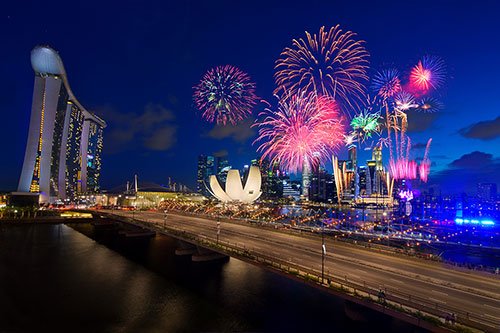
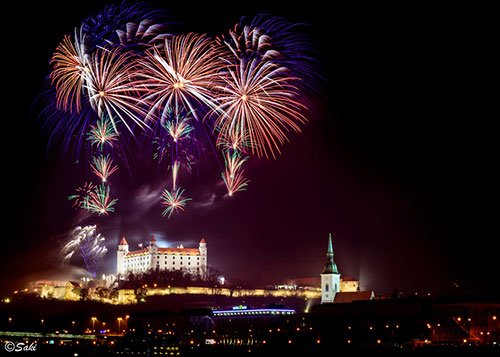
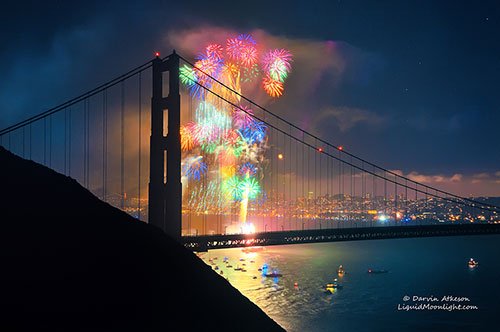
Whether it's a summer festival, new year's eve or national day, there's nothing like a good fireworks display to brighten up the celebrations. Everybody loves a good fireworks display and in this post we showcased 21 beautiful examples of firework photography.
One of the best of photography is that you are always a student and never stop learning. Have you ever wanted to take pictures of those amazing fireworks in the sky? This article should not only inspire you but also help you on how to achieve great fireworks display photography. Enjoy!
If you like this article, you might be interested in other article on night photography.
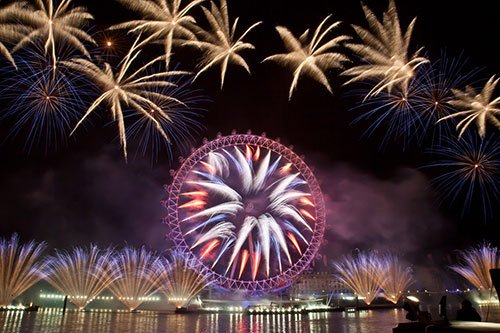
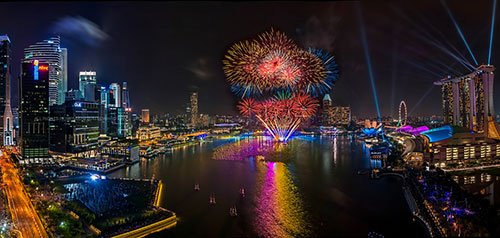
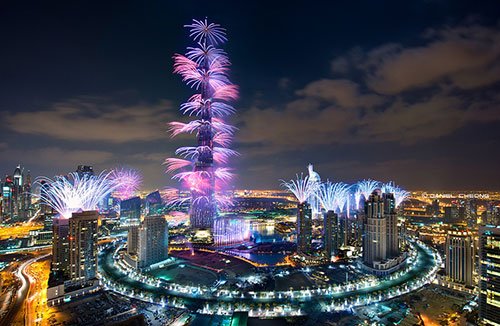
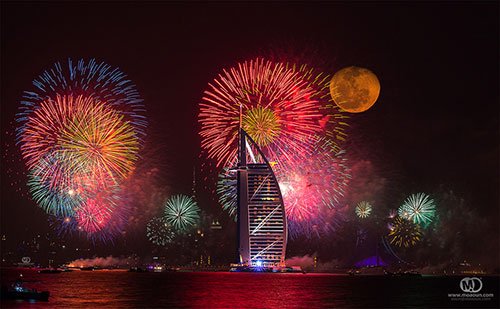
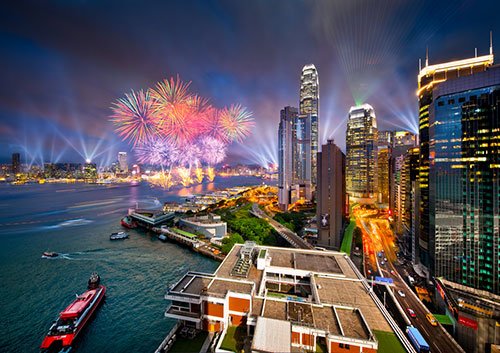
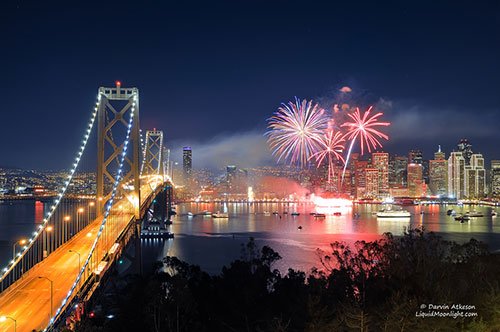
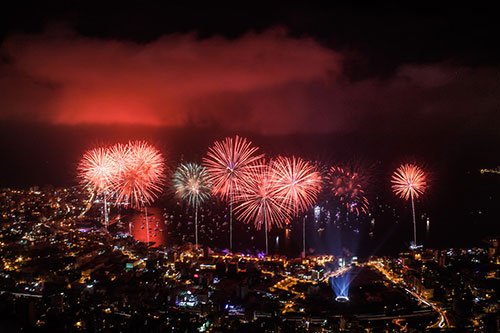
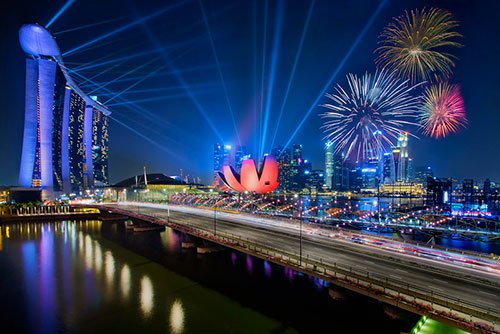
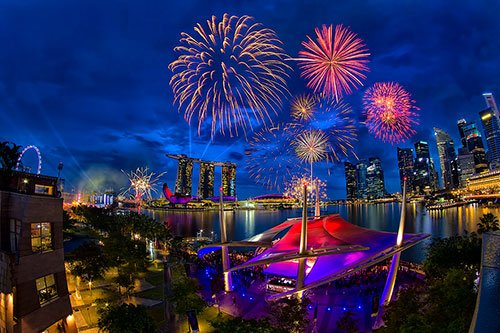
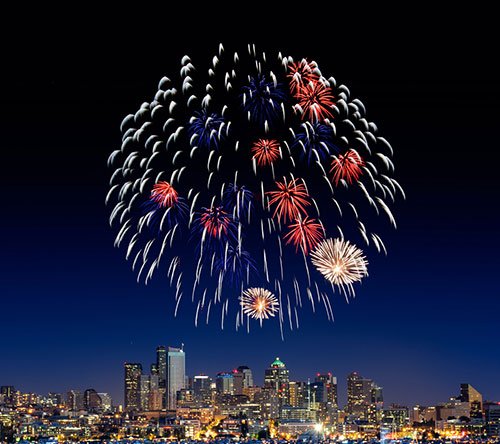
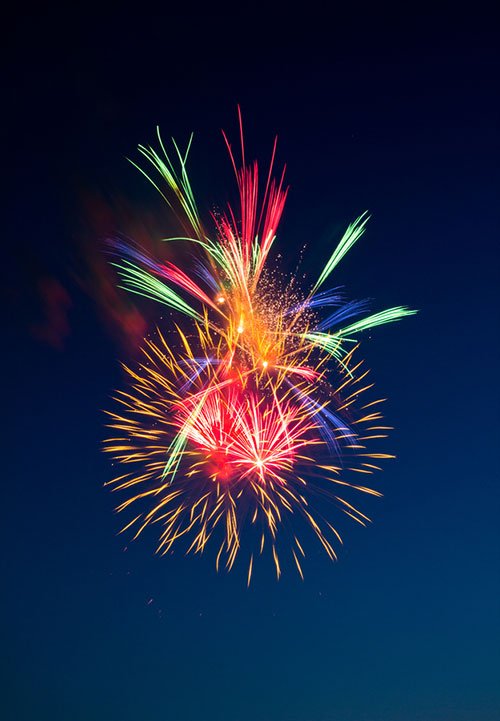
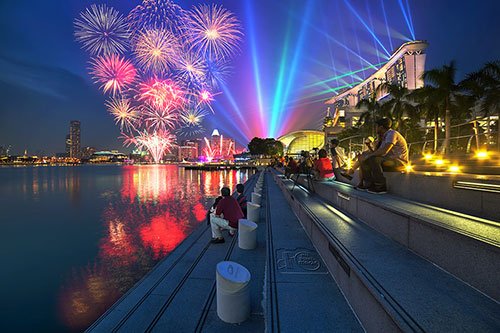
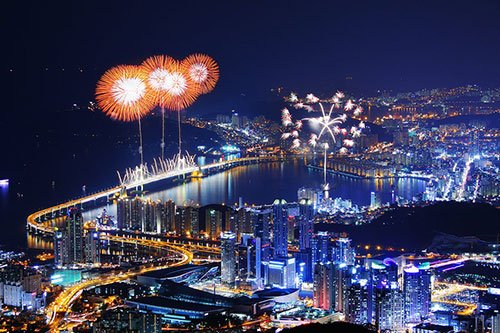
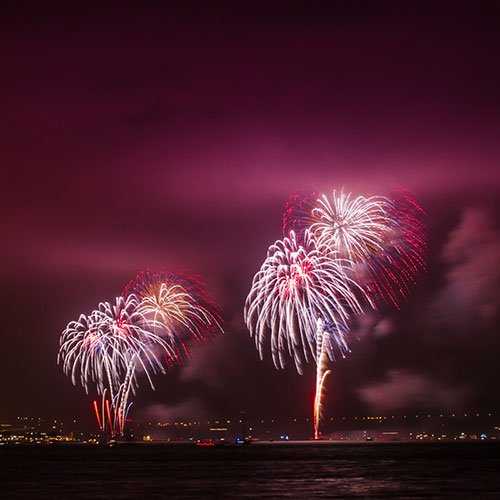
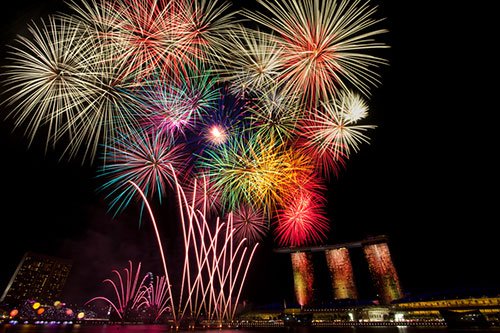
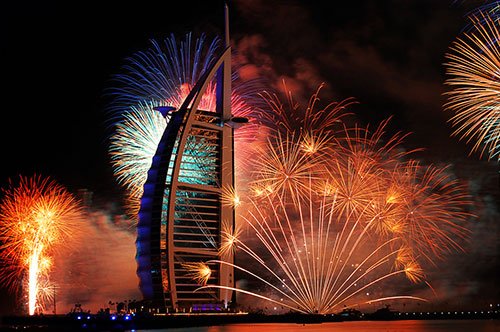
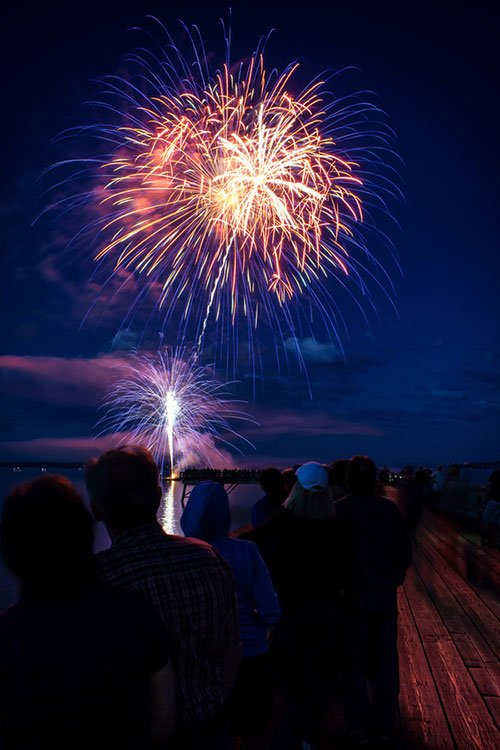
Fireworks Photography Tips and Techniques
When you are going to photograph fireworks, be prepared. Make sure you have enough memory cards and extra batteries. You will need to take a tripod, a wide-angle or a telephoto zoom lens, and remember to arrive early.
How to Photograph Fireworks Displays
Fireworks Displays are something that evoke a lot of emotion in people as they are not only beautiful and spectacular to watch but they also are often used to celebrate momentous occasions.
How To Shoot Fireworks
Though Jared think the settings are really important he think many people forget that there is more to photography than just the settings, there's the mentality behind it. If you are going to photograph fireworks this year please check out this article.
How to Photograph Fireworks
This article on fireworks photography tips is part of our special 2-part series on photographing fireworks.
Web Design and Photography Blog
Waheed Akhtar
Don't forget to like us on Facebook and follow on Twitter and Pinterest
You will definitely like these articles

This FREE course is a collection of great manga drawing lessons from renowned artist, illustrator and video creator Mark Crilley. This top quality video course covers wide range of drawing techniques: from general manga proportion and composition to hyper realistic shading techniques.
Find it here: www.keenjar.com/course/167-how-draw-manga/

|
We've all done it before. After downloading your shots of the day to your computer, you come across a badly exposed image and your first impulse is to send that file to the trash can. But what if it's a shot you really wanted? Is there a chance you can save it? Using some of the common tools found in Adobe Lightroom, there's a good possibility that you can.
My scenario was that I was walking in San Francisco and saw a street performer. After getting her permission, I very quickly snapped a few shots, then moved on, not wanting to distract her from her growing audience. It was only later, reviewing my shots at home that I realized how a bright background caused me to badly underexpose her. What tricks does Lightroom have to fix mistakes like mine?

When it comes to adjusting exposure, Lightroom has four sliders to help you: Exposure, Recovery, Fill Light and Blacks. Where Exposure controls the global exposure of your photo (and therefore may push correctly exposed areas into overexposure), Fill Light controls the exposure of only the darker areas of your photo. Think of it as shining a light into the darker parts of your photograph and lightening them up. In my example, the subject is very dark, so I needed to apply quite a bit of Fill Light to brighten her up.
Recovery is the opposite of Fill Light: it "recovers" details in the overexposed areas of your image. Honestly, there's not a huge amount of detail that can be recovered from severely overexposed parts of your photograph, so if you must err, err on the side of underexposure. Still, recovery can help bring back detail you might have pushed into overexposure by adjusting the global Exposure slider. Experiment a little and see if you can find a good balance.

Things are looking much better already, but we can take this a little further. The Tone Curve is a visual representation of the exposure in your photograph with black at the far left and white at the far right. Physically moving the curve takes some expertise, but using the sliders underneath the graph is something even a beginner can do easily. Each slider is assigned to a specific part of the tone curve: Shadows, Darks, Lights, and Highlights. The tone curve affects exposure much like the prior settings do, but on a more subtle scale. Here, you can tweak the exposure to get the shadows just a little deeper and the highlights a little less bright.

What you want to keep in mind here is that "Darks" is probably the slider that refers to your subject, at least when your photo is underexposed. So for our example, we want to move the Darks slider up into the positive side of the scale, which brightens up the subject even further. I'll leave the Lights slider alone and slide the Highlights slider down into the negative numbers, which helps further reduce the overexposure of the background sky and building.

By now, we've pretty much nailed the exposure, but because shadows tend to be cool in color, the color balance of my photo is still not very pleasing. Not to worry. At the very top of the Lightroom workflow is the global color balance sliders, which are two sliders; one is blue and yellow and the other is green and magenta. Using these two sliders, you can tweak the color to whatever is pleasing to your eye. For my photo, I pushed the blue/yellow slider way over to the yellow side and added a little more magenta to restore my subject's skin color.
Shadows also take a lot of "punch" out of colors, so Lightroom can help restore some of that. A little below the color balance settings there is a section called Presence with three more sliders: Clarity, Vibrance, and Saturation. What's the difference between Vibrance and Saturation, you might ask? Think of Saturation as a global color boost, affecting the saturation of all the colors in your image. Vibrance, on the other hand, boosts the saturation of only the less saturated colors in your image. To put it another way, Vibrance is the scalpel while Saturation is the chainsaw. In my sample image, where so much color has been muted, both Saturation and Vibrance can be adjusted. Start with Saturation and make the subtle adjustments with Vibrance.
Other techniques to improve color can also be applied such as split tones and graduated filters, but those are beyond the scope of this particular tutorial.

Sometimes when you bring too much detail back into the darker areas of your image, it results in a lot of "noise" in those areas. This noise is characterized by blotchiness or sometimes off-colored areas that are extremely blue, green or some other color. The degree of noise depends a lot on the quality of your camera's sensor and frankly, you can't always completely clean up all the noise in a particularly bad image. Lightroom 3 has some fairly powerful noise reduction filters, much better than what it had previously in Lightroom 2.
Noise reduction in Lightroom 3 consists of two sets of three sliders, one for Luminosity and one for Color. Luminosity noise reduction is usually the most effective because much of noise created from lightening up the dark areas is luminosity noise. You can usually get away with playing with the Amount slider and leaving the others alone. Don't over-do it on the noise reduction or your images will start looking more like paintings than photographs.
So that's it. Another photograph saved from the trash bin. With a little practice, you need not fear underexposure ever again.
Todd Fong is an avid hobbyist photographer who considers himself a lifelong learner of the art of photography. Along the way, he also enjoys teaching people a thing or two. Visit his blog, Otherworld for more articles and tips about photography written by an enthusiast for other enthusiasts.
We've all done it before. After downloading your shots of the day to your computer, you come across a badly exposed image and your first impulse is to send that file to the trash can. But what if it's a shot you really wanted? Is there a chance you can save it? Using some of the common tools found in Adobe Lightroom, there's a good possibility that you can.
My scenario was that I was walking in San Francisco and saw a street performer. After getting her permission, I very quickly snapped a few shots, then moved on, not wanting to distract her from her growing audience. It was only later, reviewing my shots at home that I realized how a bright background caused me to badly underexpose her. What tricks does Lightroom have to fix mistakes like mine?

When it comes to adjusting exposure, Lightroom has four sliders to help you: Exposure, Recovery, Fill Light and Blacks. Where Exposure controls the global exposure of your photo (and therefore may push correctly exposed areas into overexposure), Fill Light controls the exposure of only the darker areas of your photo. Think of it as shining a light into the darker parts of your photograph and lightening them up. In my example, the subject is very dark, so I needed to apply quite a bit of Fill Light to brighten her up.
Recovery is the opposite of Fill Light: it "recovers" details in the overexposed areas of your image. Honestly, there's not a huge amount of detail that can be recovered from severely overexposed parts of your photograph, so if you must err, err on the side of underexposure. Still, recovery can help bring back detail you might have pushed into overexposure by adjusting the global Exposure slider. Experiment a little and see if you can find a good balance.

Things are looking much better already, but we can take this a little further. The Tone Curve is a visual representation of the exposure in your photograph with black at the far left and white at the far right. Physically moving the curve takes some expertise, but using the sliders underneath the graph is something even a beginner can do easily. Each slider is assigned to a specific part of the tone curve: Shadows, Darks, Lights, and Highlights. The tone curve affects exposure much like the prior settings do, but on a more subtle scale. Here, you can tweak the exposure to get the shadows just a little deeper and the highlights a little less bright.

What you want to keep in mind here is that "Darks" is probably the slider that refers to your subject, at least when your photo is underexposed. So for our example, we want to move the Darks slider up into the positive side of the scale, which brightens up the subject even further. I'll leave the Lights slider alone and slide the Highlights slider down into the negative numbers, which helps further reduce the overexposure of the background sky and building.

By now, we've pretty much nailed the exposure, but because shadows tend to be cool in color, the color balance of my photo is still not very pleasing. Not to worry. At the very top of the Lightroom workflow is the global color balance sliders, which are two sliders; one is blue and yellow and the other is green and magenta. Using these two sliders, you can tweak the color to whatever is pleasing to your eye. For my photo, I pushed the blue/yellow slider way over to the yellow side and added a little more magenta to restore my subject's skin color.
Shadows also take a lot of "punch" out of colors, so Lightroom can help restore some of that. A little below the color balance settings there is a section called Presence with three more sliders: Clarity, Vibrance, and Saturation. What's the difference between Vibrance and Saturation, you might ask? Think of Saturation as a global color boost, affecting the saturation of all the colors in your image. Vibrance, on the other hand, boosts the saturation of only the less saturated colors in your image. To put it another way, Vibrance is the scalpel while Saturation is the chainsaw. In my sample image, where so much color has been muted, both Saturation and Vibrance can be adjusted. Start with Saturation and make the subtle adjustments with Vibrance.
Other techniques to improve color can also be applied such as split tones and graduated filters, but those are beyond the scope of this particular tutorial.

Sometimes when you bring too much detail back into the darker areas of your image, it results in a lot of "noise" in those areas. This noise is characterized by blotchiness or sometimes off-colored areas that are extremely blue, green or some other color. The degree of noise depends a lot on the quality of your camera's sensor and frankly, you can't always completely clean up all the noise in a particularly bad image. Lightroom 3 has some fairly powerful noise reduction filters, much better than what it had previously in Lightroom 2.
Noise reduction in Lightroom 3 consists of two sets of three sliders, one for Luminosity and one for Color. Luminosity noise reduction is usually the most effective because much of noise created from lightening up the dark areas is luminosity noise. You can usually get away with playing with the Amount slider and leaving the others alone. Don't over-do it on the noise reduction or your images will start looking more like paintings than photographs.
So that's it. Another photograph saved from the trash bin. With a little practice, you need not fear underexposure ever again.
Todd Fong is an avid hobbyist photographer who considers himself a lifelong learner of the art of photography. Along the way, he also enjoys teaching people a thing or two. Visit his blog, Otherworld for more articles and tips about photography written by an enthusiast for other enthusiasts.


